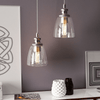
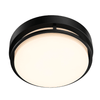
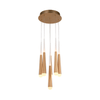
Let's face it, lighting every corner of the home adequately is a challenge.
Whether you are renovating the home or building a new one, the lighting task is daunting many times.
Fortunately, LEDs always hail as the lighting savior, no matter how complicated lighting a particular place is.
Some applications require a high lumen output in a limited area, but installing a LED panel light would be a stretch.
This is where recessed lighting or LED downlights kick in. Installing recessed lighting has many advantages, as there provide more flexibility compared to panel lighting.

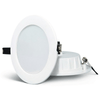
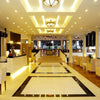
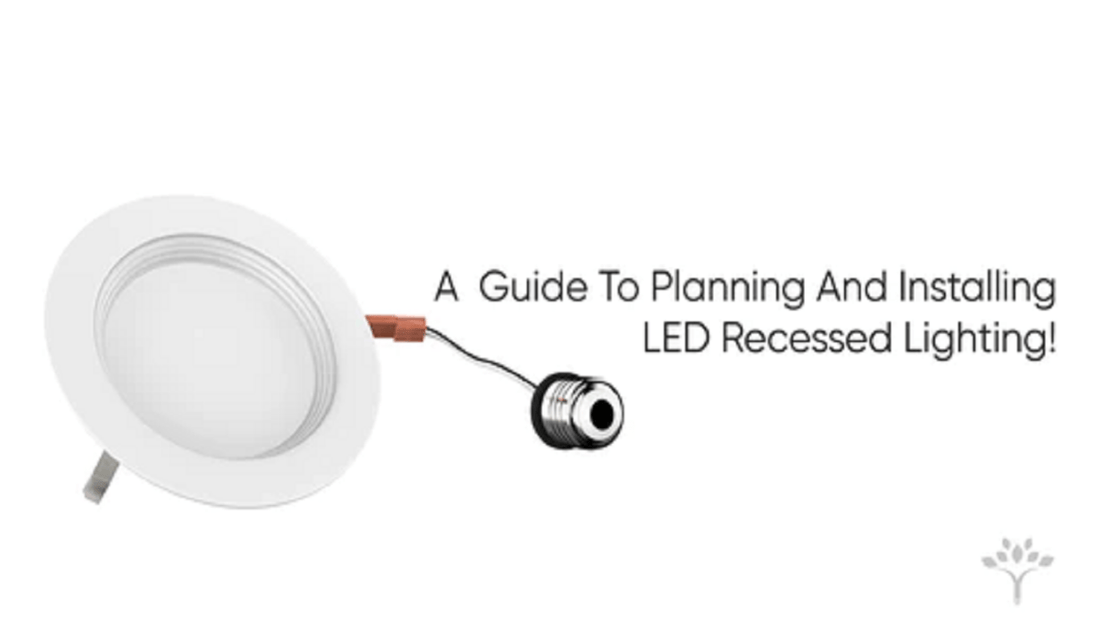
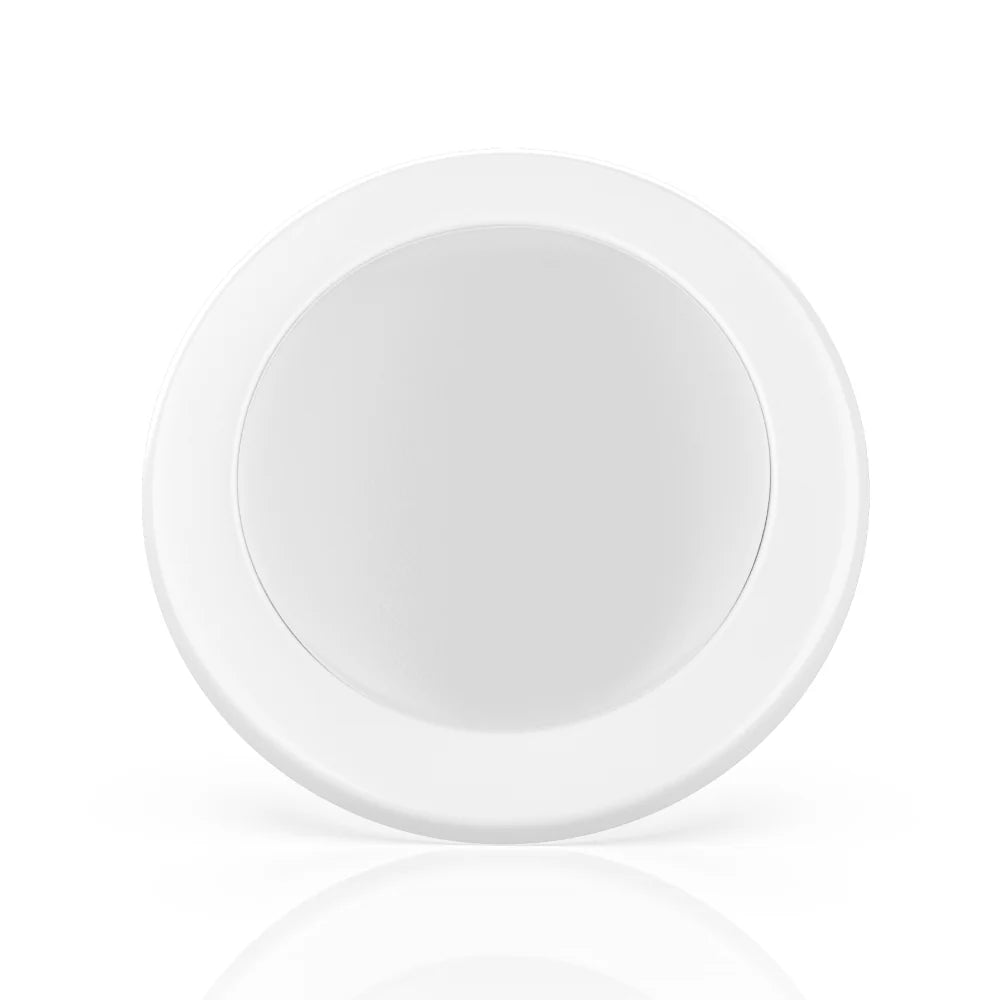
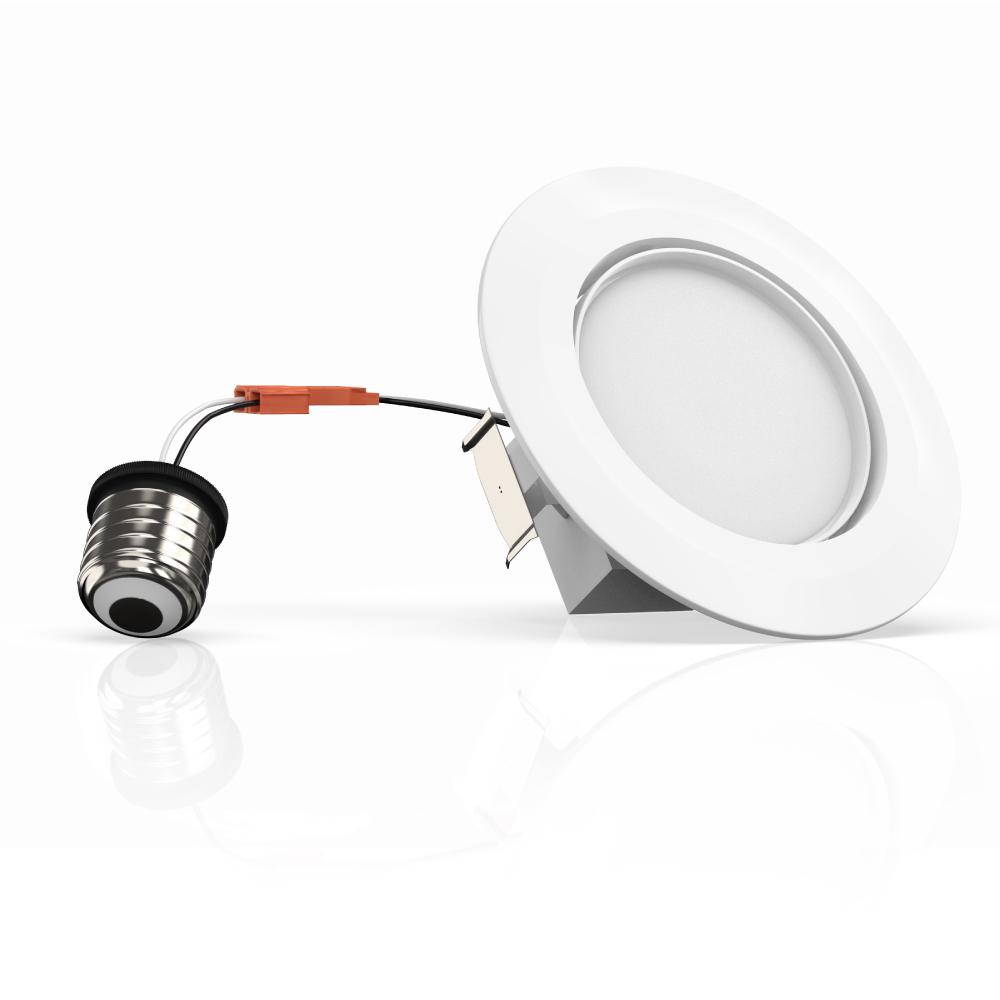
LED downlights or recessed lighting are the LED lights installed/embedded into the ceilings. They are installed in such a way that all the brightness is directed in the downward direction.
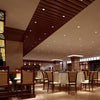
LED downlights or recessed lighting can be used in anywhere in the homes, offices, or any other buildings for
- Illuminating a particular space or spot in the building or,
- Highlight a particular corner/object of the room or building
Before installing the lights, you must know what you want to accomplish with your lighting. So here is a four-point checklist to help you plan your lighting.
Baffle Trim Or Eyeball trim-what do you want
Downlights or recessed lights with baffle trim render a wide beam of light, whereas eyeball trim can accommodate a rotatable light. This helps the lights to focus on a particular spot.
What's color temperature do you need?

- Color temperatures matter, and LEDs are capable of producing a much wider range of color temperatures. Look for the color temperature on the package of the bulb.
- 3000 kelvin of light will give you a soft yellow light, which is perfect for bedrooms and living rooms. This color temperature is perfect for the spaces where you want to relax.
- LEDs in the 4000 kelvin-5000 kelvin range will be perfect bathrooms kitchens and garages.
What is your current wire made up of?
Is it copper or aluminum? What is the thickness of the wires that you are using?
Make sure that you use the same type of wire again with the new fixtures as well.
Also, if your current wiring has no ground wire, get it replaced by some professional electrician.
Spacing matters

Downlights are meant to be used in quantity. The spacing between lights is important if we want to achieve the best out of
If the downlights are arranged in the linear path, the minimum gap between the two lights should be 4 feet.
There should be a minimum gap of 2 feet between the walls and recessed lighting to produce a better wall washing effect. If closer than 2 feet, the lights can create wall grazing effects.
If the can lights and fans are close, the fan blades can chop the cone of light and create a discomforting strobe effect. For a better layout, it is important to contact a lighting expert if you can not figure it out.
Pro tips-

- Before beginning the installation, cut the power to the room in which you'll be working.
- If you are not comfortable working with electricity, hire an electrician to do it for you.
- Double-check with the voltage tester current flowing in the wire.
How To Install Recessed Lighting?

Know where you need the lights
In general, the ceiling should be hollow, like ceilings down the attics. Also, check if there is any wireline running immediately above the ceiling.
- Identify the locations where you need lights. Mind the spacings between lights.
- Since LED downlights are embedded into the ceilings, you need to cut a hole out of the ceiling.
- Take the provided template in the box as the reference to draw the outline of the opening.
- Drill a hole between at the center of the outline, and use a wire to measure the vertical gap of the cavity.
Note- If you are planning to mount recessed lights between two ceilings, there should be a gap of 8 inches between the two floors to accommodate the new fixtures.
Cut The Hole Out
- Once you are sure that there is no wireline, or pipelines running immediately above the proposed spot, it is time to cut the hole out.
- Now cut the marked opening out using drywall circle cutter as it is precise and easy to use.
Rewire And Replace The Old Fixture-
- Now since the marked opening is cut out, it's time to remove the current fixture and disconnect it with power.
- Right from the power source, run a cable to switch box and then through the hole. Also, leave a margin of at least 20 inches of wire. The extra wire will provide some flexibility if new connections also need to connect in the future.
Connect The Junction Box With The Power
- Strip the wire coming out of the hole; there are basically three colored wires, red, black, and white.
- Connect each wire into the input side of the junction box. Connect black wire with black, white wire with white and red wire with red terminals, respectively.
Connect The LED Downlights With The Junction Box
- Now join the LED downlight's connector with the junction box to give it a final touch.
- The connectors are entirely made so that every pin goes in the right hole.
Put The Downlight In To The Hole
- LED downlights fixtures come with pins to fit into the drywall.
- Rest the first pin against the side of the opening, and gently put the second pin into place.
- In the case of the finished ceiling, mount the trim into the housing according to the manufacturer's instructions.
- Now switch the main supply ON.
If You Retrofit
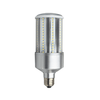
- IF you are looking to retrofit the old fixture, look for E26 base bulbs and directly put into the fixture.
Dimmer Considerations
Dimming performance depends on the number of LED modules installed, the wiring method and dimmer range adjustment setting.
For best results, it is important to install a minimum of 4 LED modules onto one dimmer.
Before turning on the LED lights, turn the dimmer to its highest position so that you can start adjusting the brightness level from maximum.


