

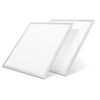
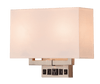
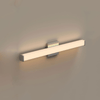


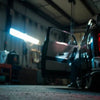


LED panel lighting is revolutionizing how we illuminate our spaces with such a stunning range of designs, energy efficiency, and impressive brightness. A modern home office renovation or a brightening up of an existing workspace with LED panel lighting can be a great option as the latest and most effective form. The installation process of LED panels may seem arduous initially, but following some easy instructions and getting the right equipment, this work can be both as clear as it's easy. In this guide, we will lead you through the installation process step by step, guaranteeing a successful result regardless of your skill level. Here are several reasons to consider installing LED panel lighting in your location:
Reasons to Opt for LED Panel Lighting in Your Area?
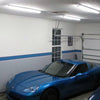
Before beginning the installation process, it's essential to grasp why LED panel lighting is a valuable investment. These lights provide continuous brightness, making them ideal for areas that require bright, shadow-free lighting. Their adaptability is unparalleled, spanning from workplace illumination to kitchens and meeting areas.
Besides their visual appeal, LED panel lights are extremely energy-efficient, leading to considerable reductions in energy costs over time. Their lifespan is extended in comparison to conventional lighting systems, resulting in fewer replacements and reduced maintenance expenses.
Essential Tools and Materials Required

The first step in any successful installation is preparation. Gather the following tools and materials:
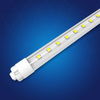
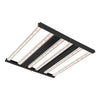
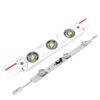
- LED panel lights
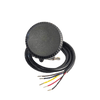
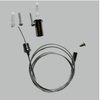
- Driver (often included with the LED panel)
- Screws and mounting brackets
- Screwdriver or drill
- Ladder
- Measuring tape
- Wiring tools (wire stripper, connectors)
- Safety gloves
Make sure to double-check your panel light specifications to ensure compatibility with your electrical setup. Most LED panels are designed for either surface-mounted, recessed, or suspended installations. Knowing your preferred mounting style in advance will simplify the process.
Preparing for the Installation
Proper preparation is essential for achieving a secure and smooth installation. Start by disconnecting the power source to the location where you will be operating. Verify this by toggling the switch on and off or utilizing a voltage tester. Safety must always be prioritized.
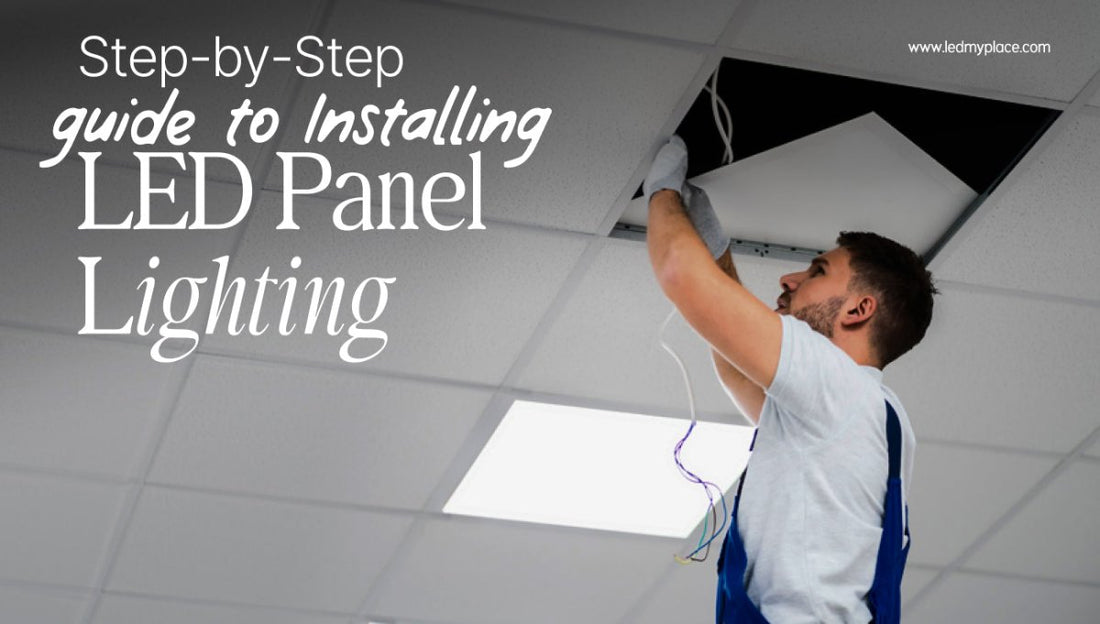
Next, evaluate the area where you will place the LED panel. If you are dealing with a drop ceiling, you must take out the ceiling tiles and modify the grid to ensure the panel fits tightly. For installations that are mounted on the surface, indicate the locations where you will drill holes for the mounting brackets. Suspended setups will need extra equipment such as suspension cables or chains.
Step-by-Step Installation Process
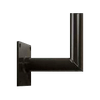
1. Installing the Mounting Brackets or Grid Fittings
For surface-mounted LED panel lighting, attach the mounting brackets to the ceiling or wall. Use a measuring tape to ensure precise alignment. This step is crucial to achieving a clean, professional look. Drill holes at the marked spots, insert the screws, and secure the brackets firmly.
For drop ceilings, remove the tile where you plan to install the panel. Adjust the surrounding tiles to ensure a secure grid frame for the light panel.
2. Connecting the Driver
The driver is an essential component that regulates the electricity flowing to your LED panel. It converts the power supply into the low voltage required for LED operation. Connect the wires from the driver to your power source and LED panel using wire connectors. You should simply follow the diagram that's provided for neat, neutral and clear results . If you are not proficient and familiar with the wires, consult a licensed electrician.
3. Positioning and Securing the Panel Light
Once the driver is connected, place the LED panel in its designated spot. For recessed installations, fit the panel into the ceiling grid and ensure it sits flush. For surface-mounted setups, secure the panel to the mounting brackets you installed earlier. Ensure the panel is straight and aligned properly to avoid any tilting.
If you’re opting for suspended LED panel lighting, attach the suspension cables to the ceiling hooks and connect them to the panel. Adjust the height as needed.
4. Testing the Installation
After every process is done, the installation check-up process begins, restoring power to the circuit and turning on the lights. Check for consistent brightness and ensure there are no flickering issues. If the panel doesn’t light up, switch off the power and recheck the wiring connections.
Troubleshooting Tips
Minor issues can sometimes arise even after careful consideration. Here are some common challenges and their solutions:

Tips for Optimal Lighting Performance
-
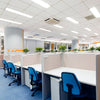
Placement Matters: Position the LED panels strategically to ensure even illumination across the room. For office lighting, consider placing panels directly above workstations to minimize shadows.
-
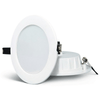
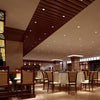
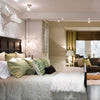
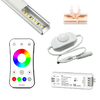
A nice color temperature- LED panels come in a range of temperatures, such as warm white (2700K) up to daylight white (5000K). Office lighting is enhanced by cooler temperatures because they help to boost focus and productivity, whereas warmth is related to a cozy ambiance.
-
Maintenance: Though LED panels are low maintenance, occasional cleaning is essential to maintain brightness. Use a dry, soft cloth to remove dust or smudges. Avoid using harsh chemicals that may damage the panel surface.
Enhancing Your Space with LED Panel Lighting
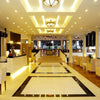
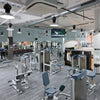
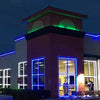
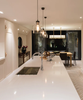
With LED panel lighting, there is so much versatility. For offices, it creates bright professional environments, thus reducing eye strain and making it easier for the employees to be focused and productive. The home office, therefore, will be characterized by the clean minimalist design of LED panels that blend in well with any style of interior design.
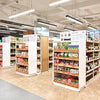
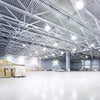
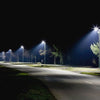
For larger spaces like conference rooms, combining multiple LED panels ensures even lighting coverage. Similarly, residential spaces like kitchens and laundry rooms can benefit from the enhanced visibility that these panels provide.
Why LED Panel Lighting Represents the Future of Office Illumination
With companies increasingly focused on sustainability and efficiency, LED panel lighting has emerged as an essential element of contemporary office designs. Its energy efficiency lowers operating expenses, while its extended lifespan reduces maintenance requirements. Additionally, the stylish and modern look of LED panels aligns perfectly with the design objectives of many contemporary office environments.
If you're aiming to enhance your office lighting, LED panels can serve as both a practical and trendy option.
Final Words!
Putting up LED panel lighting is not as complicated as it appears. This can be achieved through meticulous planning and focus on specifics. From enhancing workplace lighting to brightening your residence, these panels provide a useful, energy-saving, and aesthetically pleasing choice.
Prepared to illuminate your area with LED panel lighting? Explore our wide range of LED panels at LEDMyPlace.com and begin your journey toward brighter, more energy-efficient lighting now! You can inquire or even request tailored help through our video call option, allowing you to communicate with our specialists for immediate support. Let's design the lighting arrangement you've always wanted!