Christmas is the most magical time of the year, and one of the things that put you right in the holiday spirit is dazzling Christmas Lights. A seasoned decorator or first-time decorator, you can get the best, definitive checklist and how-to guide here to make spectacular holiday displays minus the pitfalls.
Why Christmas Lights Matter
Christmas lights are beyond decorations. They bring a lot of warmth, happiness, and the spirit of the season into your house. A well-lit house is very inviting. It spreads cheer and can make holidays unforgettable for anyone.
The Ultimate Christmas Lights Checklist
1. Planning Your Display
Set a Budget: Determine how much you’re willing to spend on lights, accessories, and energy costs.
Theme: Decide on a color scheme or theme. This may be traditional white, colorful, or winter wonderland.
Measure spaces: Roofline, windows, trees, etc.
2. Selecting the Right Lights
LED vs. Incandescent: LED lights are better as they are long-lasting and less expensive in the long term.
Types of Lights
-
String Lights
-
Icicle Lights
-
Net Lights (ideal for bushes and hedges)
Outdoor vs. Indoor: Check the lights have the correct rating for use outdoors or indoors.

3. Gathering Materials
-
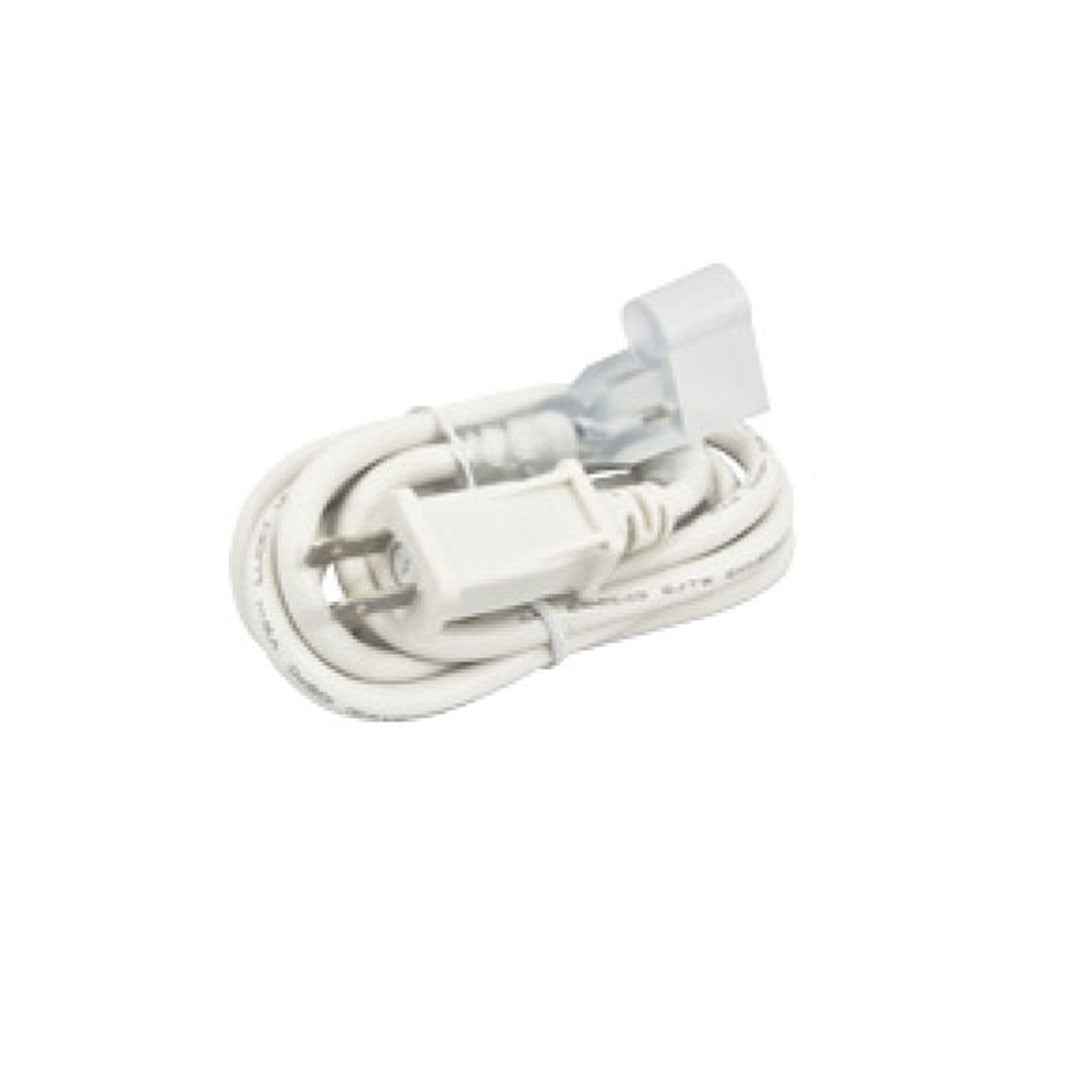
Extension cords (outdoor-rated for exterior use)
-
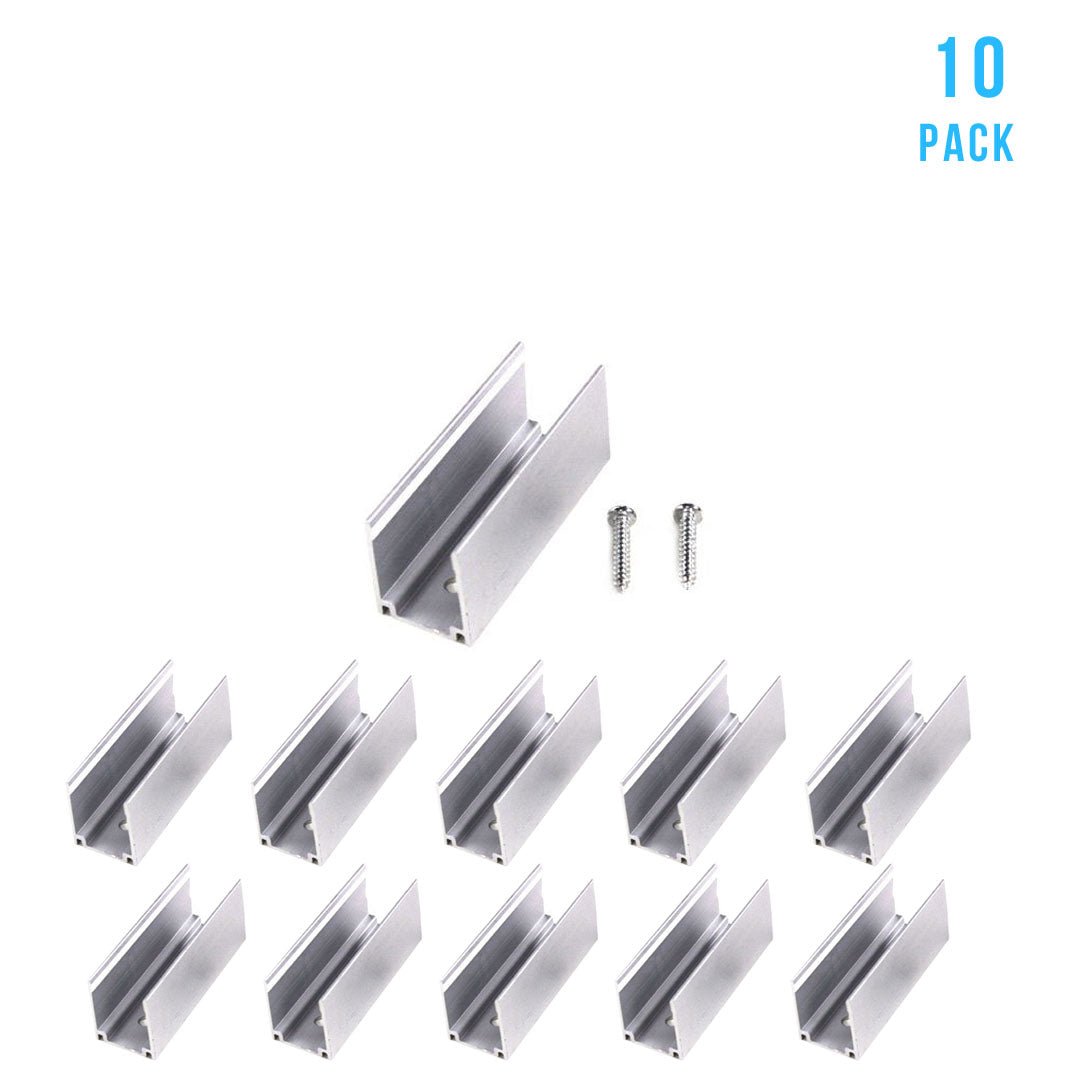
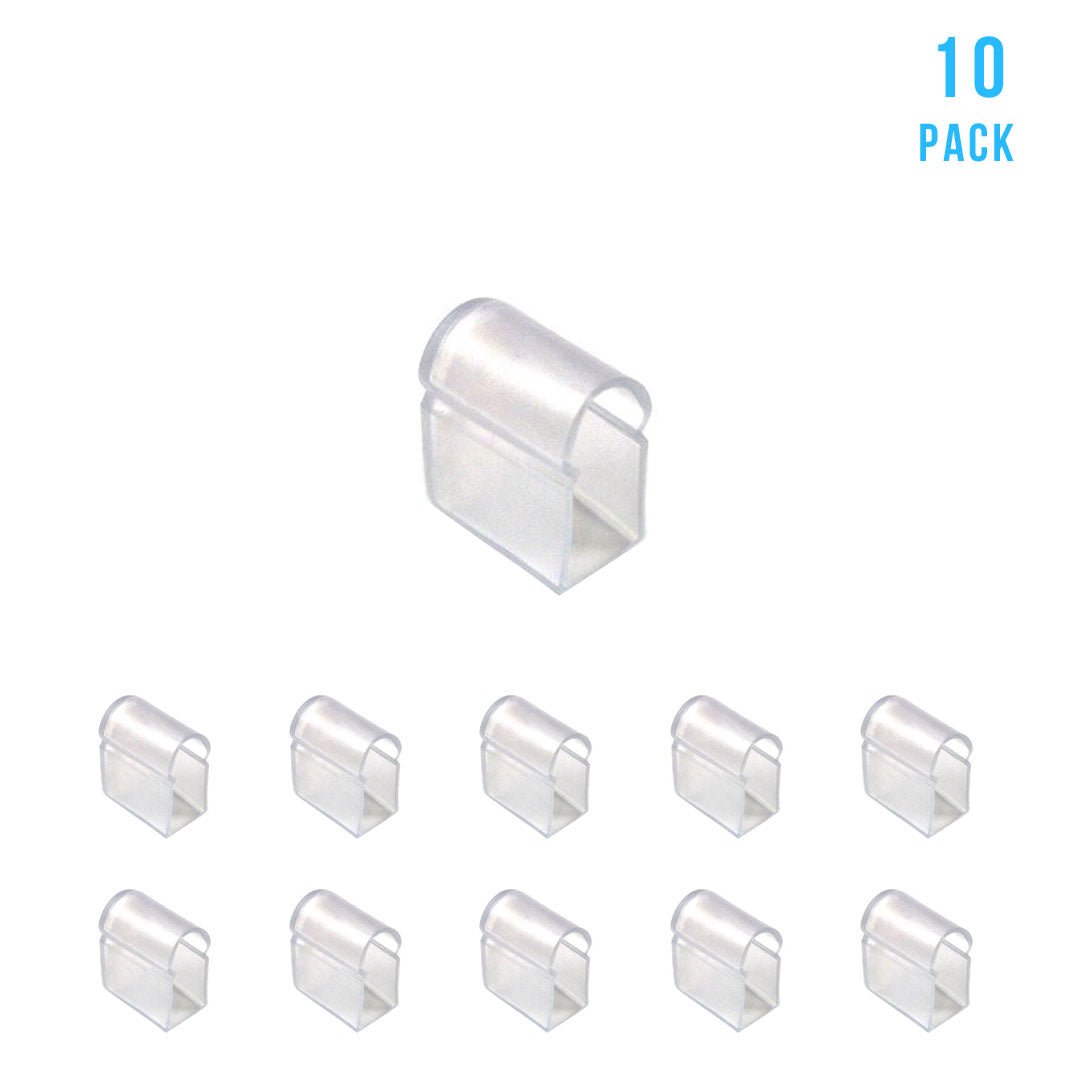
Light clips and hooks
-
Timers for automatic control
-
Ladders and safety gear
4. Safety First
-
Check for damaged wires or bulbs before installation.
-
Use outdoor-rated electrical cords and waterproof connections.
-
Do not overload outlets or circuits.
5. Installation
-
Install from the top (roof) working down.
-
Use proper clips instead of nails or staples to avoid damaging wires.
-
Test lights before and after installation.
How-To Guide: Installing Christmas Lights Like a Pro
Step 1: Plan Your Display
Draw your display first before you start. Note your roofline, windows, trees, pathways, and all special details such as inflatables and wreaths.
Step 2: Test Your Lights
-
Before you climb your ladders, plug each strand of lights in and make sure they work.
Step 3: Install on Rooflines and Gutters
-
Attach the strands firmly on the gutters or shingles with light clips, making sure that you don't space them unevenly for a more classy effect.
Step 4: Decorate Trees and Shrubs
-
Wrap string lights around tree trunks and branches or use net lights for quick coverage of bushes.
Step 5: Add Pathway Lights
-
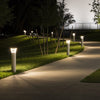
Line driveways and walkways with stake lights or use rope lights for a creative touch.
Step 6: Use Timers and Smart Plugs
-
Save energy and ensure your lights turn on/off automatically by setting up timers or smart plugs.
Troubleshooting Common Issues
One Strand Isn't Working: Inspect for loose or broken bulbs. Replace or reseat them as appropriate.
Lights Keep Tripping the Breaker: You might be overloading the circuit. Diversify the load across a number of outlets.
Lights Aren't Distributed Evenly: Step back to increase spacing or add more lights when necessary.

Pro Tips to Wow Your Display
-
Blend Light Sizes: Mix tiny lights with larger bulbs to add depth and variety.
-
Layer Your Lighting: Use multiple layers, such as string lights on the roof and pathway lights below, for a dynamic look.
-
Go Smart: Invest in smart lighting systems to control colors, patterns, and schedules via your smartphone.
Advantages of LED Christmas Lights
Energy Savings: LEDs use up to 80% less energy than incandescent bulbs.
Durability: LEDs last longer and are more resistant to breakage.
Eco-Friendly: Reduced energy consumption means a smaller carbon footprint.
Conclusion
Decorating with Christmas lights can transform your home into a holiday wonderland. By following this checklist and guide, you’ll have a stress-free experience that results in a breathtaking display. So grab your lights, get creative, and let the holiday spirit shine bright!
Ready to light up your holidays? Check out our extensive collection of LED Christmas lights and accessories at LEDMyplace.


